Friday, 28 February 2014

Some Class Time Fun

We have been busy little beavers 
over the last month
so I thought I would share 
some of what we have been up to for the Month of February 2014

busy busy busy :) 

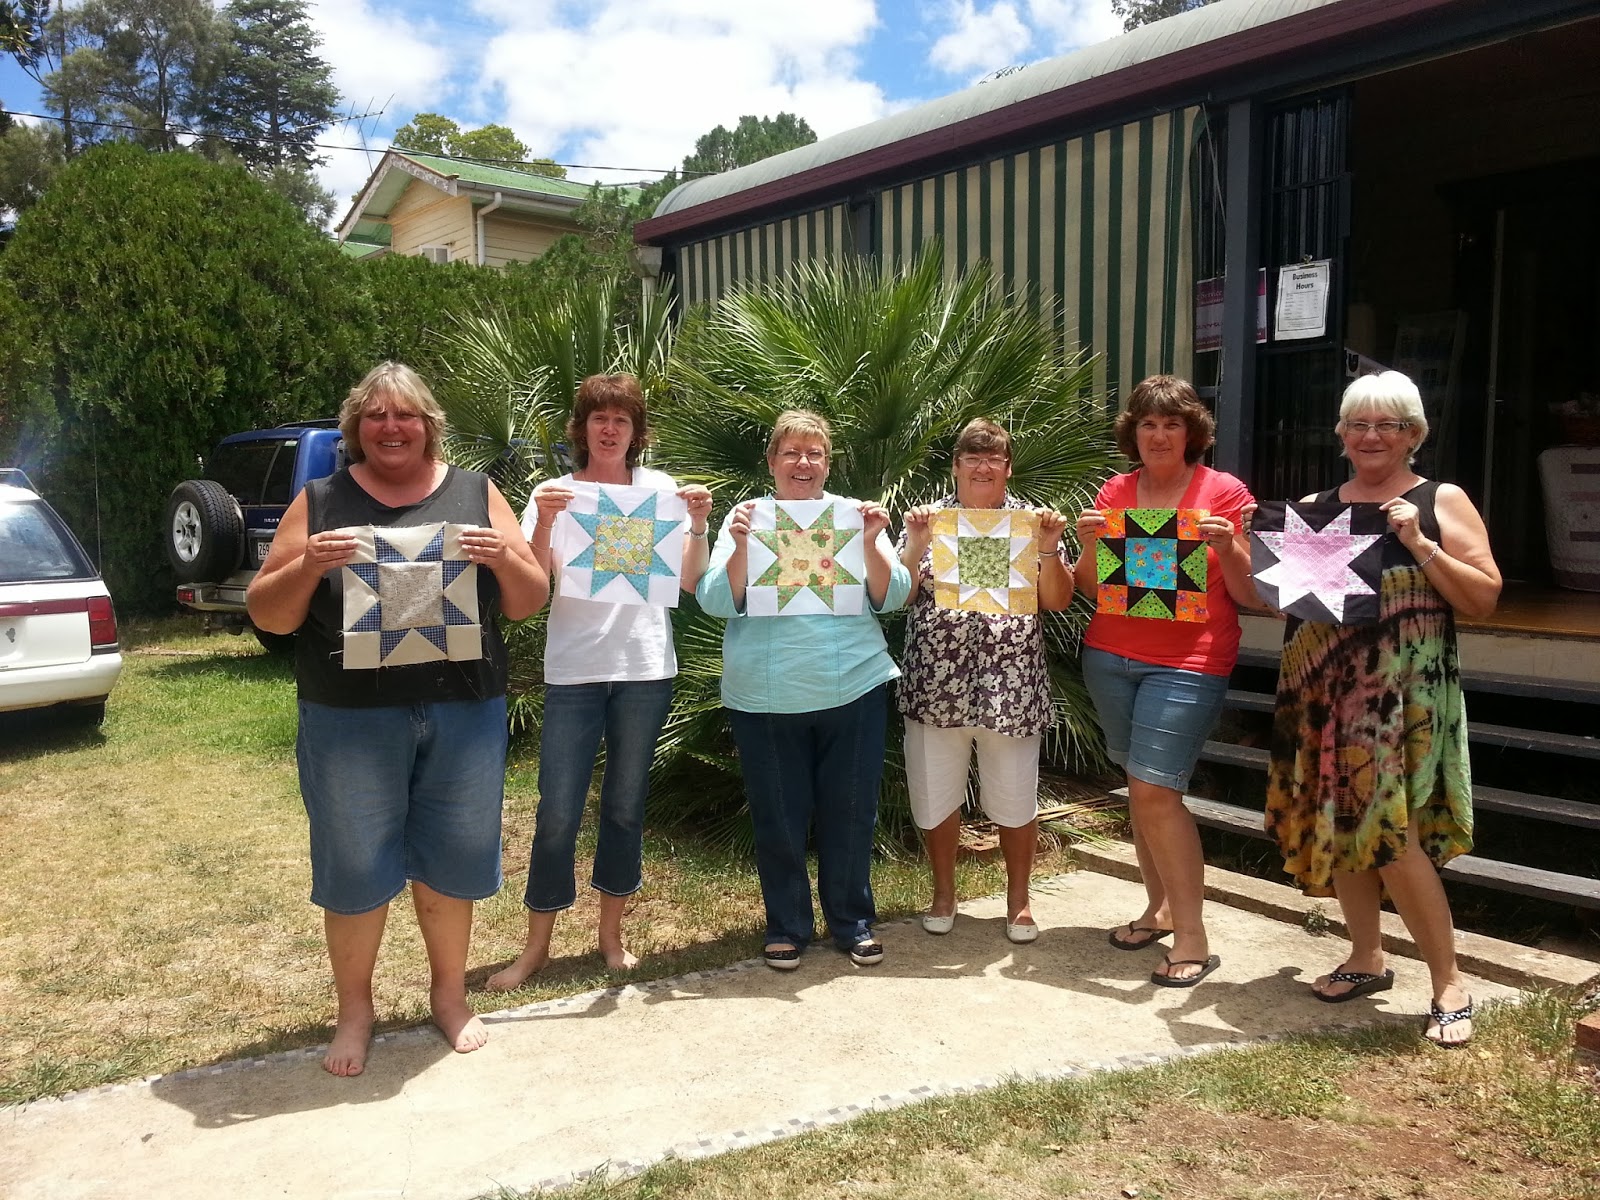
Here are the Ladies and their 1st Block of the Month 

Gail Hiding Behind her Table runner

Sandra and her Black and Red Table runner 

First timer to class Vicki and her table runner

Eunice and her Place mat

Monica with her Table Runner


here are the ladies with the 2nd
Block of the Month

Thursday, 27 February 2014

Another Day Another Quilt #17

Whoa!!!!!

This week has flown by so quick ") 

today I am working on a quilt for Jean of Kingaroy 
this one is for one of her Grandsons a lovely 
sampler quilt...

Jean has been quilting on and off for many years 
this is the 2nd one I have done for her 
as we only met middle of last year
she came across me at the local Markets 
that I attend every month in Nanango :) 

today we used one of the customers favorite 
all over quilting patterns called 
"wave on wave"
I have had this now for a few months and I can tell you 
everyone is very attracted to it :) 
especially for quilts that are made for men and boys alike 

Jean also wanted to be able to see the quilting so she opted for 
a cream coloured thread for the top and bottom 
she also wanted a bamboo wadding and a love 
Mocha coloured backing fabric...
we had everything she was chasing 
Whew!!! lucky us...as you can see below the quilt has turned out just 
gorgeous and was well received :) 

now onto a Custom Made quilt 

Happy Quilting ") N 


Wednesday, 26 February 2014

Another Busy Day Quilt # 16

It has been another busy day her at 
Darvanalee Designs
today we worked on Joyce's Quilt

there is a funny story behind how Joyce 
found me...You see Joyce has been quilting for many years
mostly by hand...Joyce is 80 yrs young...recently she was not feeling her 
best and was laying in Hospital talking to another 
patient...while they were chatting away the conversation turned 
to quilting and crafting...while there were happily chatting away 
Joyce happen to mention that her friend and herself were working on 
a quilt for her daughter...she asked the lady if she knew of anyone 
that would be able to help her finish it...as she din't want to have to do this 
one by hand....well the lady laying next to Joyce told her about this young girl 
that was quilting for a lot of people here in Kingaroy (yep that's me a young girl LOL) 
anyway this lady just happened to have a business card of mine in her handbag and 
promptly gave it to Joyce...after a couple days stay in Hospital 
Joyce was released and first thing she did after she got home and unpacked 
was to ring me and book her quilt in....at the time I was on Holidays over the Christmas break 
so we arranged for Joyce to come and meet me and have a chat about 
what she wanted done on her Quilt 

In the end Joyce decided that she wanted to have stippling all around the candle-wicked 
blocks and to leave the big 10 inch blocks plain...but this was not a good solution to those 
10 inch blocks so I showed Joyce some of the options that we had available to stitch into 
the blocks...just so there was not negative space..

we decided on a Dove with flowers up in the corners...just to hold it down for many years to 
come...
here in this picture you can see a sample of Joyce's work on the blocks 
each one has a different Candle-wicked design :) just gorgeous
I can wait till mine is finished...I have been working on it for many years 
you can see here the end result for the quilt 
Joyce was over the moon about her quilt 
and couldn't wait to get it home and get the 
binding on it and get it to her Daughter asap

Well it is time for me to get onto the 
next quilt :) 

Happy Quilting ") N
                                                    

Tuesday, 25 February 2014

Custom made Quilt for Magenta's Son Quilt #15

Wow...Quilt #15 already 
this one I have been working on for a while now 
it is a Custom handmade quilt for a lovely 
lady Magenta from  Caboolture Qld

Magenta first contacted me 
around the beginning of January 2014 
after seeing one of my Girly Quilts on eBay 
she wanted to know if I made the quilts...Yes was the answer

she wanted to have a quilt made for her son
who visits hospital frequently...she wanted this 
for him to have a little piece of home with 
him while he was there :) 

and as his birthday was coming up soon 
the push was on...

so after some tooing and  froing we finally decided on a 
fabric pack and a designs 
the following quilt was the end result..

the fabric used was Riley Blake's "Maverick" 


we then quilted with clouds as the quilting desing...it was an all over designs using a white cotton top and bottom with a beautiful blue backing with yep you  guessed it more planes 

it finally went off to its new home
this week and was received with 
sequels of joy ....
you can see there was lots of 
4 patches in this quilt 

                                                     
here is the layout of the quilt and you can see it loaded in the machine ready for 
quilting ") I love that moment when you load a quilt 
and start stitching out the designs :) 

Here is the quilt all finished with the binding on 
and ready to head off to its new home ") 


Now on to the Next custom made quilt 
for Baby Hunter ") 

Happy Quilting ") N


Saturday, 22 February 2014

Chriss Cross Table Runner and Place Mat Set PART 1


It has been a while since I have posted a tutorial
so I  thought I would post what we did in class today 

In total you will have one Table Runner 
and a set of 
4 Place Mats 

below is what you need for everything 
but this is a 2 part Tutorial 
part 2 will be posted next week

what you will need:
Sewing machine 
Missouri Star Quilt Co.(MSQC) Small Simple Wedge Template
3 matching Fat Quarters (F/Q)
1 contrasting Fat Quarter for around the feature (F/Q)
1 meter of Black plain fabric such as Emma Louise Quilters Muslin
matching Thread 
Rotary Cutter 
cutting Mat
6x24inch ruler 
1.7 wadding of your choice eg: cotton/polyester/Bamboo
                                                                  1.7 Backing fabric 
                                                                 .70cm Binding Fabric 


now that we have all that together lets get started :) 

first take your matching F/Q's and iron out all the creases 
this is a must for accurate cutting of the template :) 

Here comes the fun and simple part of this Lovely table set

1. take your  MSQC Small simple Wedge template 
and place it on your fabric as i have in the picture
now cut along each edge of the template 
that is your first Triangle.....now spin your template...
line up on the cut edge of the fabric and cut along the other edge 
so you get your 2nd Triangle....continue this until 
you have 64 triangles in total ") 

2. Lets get sewing! 
take your triangles and place them like 
i have done in the picture here...and sew a 1/4 inch 
seam along the edges...press and then add another 
to this and continue until you have joined  triangles together
this forms a feature block in the table runner and place mats 
continue until you have 4  panels in total for Table Runner
then square off your feature blocks :) 
you just cut your end triangles in half 
like pictured :) 


3.Onto the Border for feature panels 
take you Contrasting F/Q and cut into 
1 inch Strips (cut as you need as you may not use the whole F/Q)
Now border your feature block....Press as you go.....for me I done the long sides first 
then the top and bottom...as you can see pictured here
                 

4. Now onto the assembly of your Table Runner 
take you Plain fabric in my case I used Black as this is my colour scheme of 
my Kitchen/Dinning Room 
** Cut 1x 9.5 inch strip  across the width of the fabric 
and 
**1 x 2.5inch strip across the width of the fabric 
now
take your first bordered feature Block and  add a 2.5" strip to the left side 
 and then on the right side of the feature block add the 9.5" strip of fabric 
now trim of excess...
then 
add another feature block and press 
now take you left over 9.5" strip and add another panel
continue doing this until you have 4 feature blocks attached 
now add another 2.5 inch strip to the end and you should have something that looks like this 

5.Now for the final strips to be added 
**Cut 3 x 1&1/4 inch strips (see placement of strips in above picture)
join 2 of them together and sew on to the top of the 
table runner cut off excess ....now repeat for the bottom of the Table Runner 

Your Table Runner Top  is Complete.....


6.Now onto the Quilting it :) 
you can do this however you please but for me 
I kept it nice and simple 
I just Quilted in ditch for the feature block and then 
cross hatched the black panels

7.Nearly Done Binding to go 
** cut 4 x 2.5" strips of binding fabric (WOF)

cut off selvage's and join your strips end to end 
to make one long strip of fabric...
now head over to your iron and press with 
wrong sides of your fabric facing each other 
(pretty side facing out) 

continue this until you have done 
The Entire length
Steps 1 to 5 for how to make your binding ..once you have sewn your strips end to end then we want to fold them with pretty side facing out and wrong sides facing each other in half....Press with a hit iron...once you have done this and you get to the end of your binding you need to open up approx 2 inches of you binding like shown in the 4th picture...now take your corner and press to make a 45 degree angle...no special tools need just do it like shown in picture  5 now move on step 6 
Steps 6 to 9... fold your fabric back over so you have it looking like image 6...now give it a good press with a hot Iron and maybe even use some spray starch it help it hold form for  you...you can see here what we are trying to achieve...a nice bias angle with the end of our binding...this will give you a nicer overall finish to your binding 
9. Now you are ready to attach you binding to the front of your 
Table Runner  

Steps 1 -3 following the pics you need to attach your binding like pic1. and then when
you start to sew about 5inches from the first pin back stitch for 3 stitches and then continue on till you
come to the 1st corner of table runner 
Steps 4 to 7 once you come to the corner you want to stop a 1/4 inch from the corner then take out your table runner and flip up your tail like in pic 5. then fold it down like it  is shown in step 6. it should look like pic 7 continue doing this for all your other corners ..this will create a Mitered corner :) 
steps 8 to 11...now that we are at our final corner we so the same as above...we continue to sew down till about an inch from the beginning of our binding....it is at this point that I take my long tail and trim it...it must have enough of a tail to fit into the beginning of our binding...you can what I am trying to achieve here by the pictures
Steps 12 to 15...so in picture 12 you can see that I have cut it on an angle...now we take this and slip into the beginning of our binding see pic 13...now fold it back over so it looks like it continues on like in picture 14...now sew along the remaining binding until you meet up with where you started
you now finished putting your binding on 

Table runner ....once this is done you  can then hand sew the 
binding onto the back of your table runner
your corners on the back should look like the picture below 
perfect mitered corners :) :) 


Woo Hoo you now have a completed Table Runner YaY 

Keep an eye out Next week for Part 2 
how to assemble your matching Place Mats ") 

                                         Happy Quilting ") N